Launching a local Kubernetes lab using Minikube

Learn to set up a local Kubernetes lab using Minikube for testing or development. Install, configure, and enable additional functionalities.

Russ McKendrick · · 5 min read
I have more and more people at work asking me about Docker and Kubernetes, so I thought it would be good to write down some instructions on bringing up a small test lab on my laptop.
I had initially assumed that I would have to spend some time configuring a Vagrant box for this, but then I spotted the Minikube project.
Minikube is a tool that makes it easy to run Kubernetes locally. Minikube runs a single-node Kubernetes cluster inside a VM on your laptop for users looking to try out Kubernetes or develop with it day-to-day.
Minikube launches a virtual machine and then can be used to manage the configuration much like the way Docker Machine does, in fact it uses libmachine which is part of Docker Machine to launch the virtual machine.
I jumped straight into installing it. First of all, using Homebrew and Cask I installed the requirements which are;
- kubectl, this allows you control your Kubernetes cluster from the command line
- virtualbox, a way of running VMs on your local machine
I should point out that I did try using try using docker-machine-driver-xhyve which is a libmachine driver that enables Docker Machine and libmachine powered applications to use xhyve which is the native macOS hypervisor, while it worked once it then failed to boot again.
Considering I will only be using Minikube to give people a quick overview I decided to stick with VirtualBox as it has worked without any problems.
To install these, I ran the following command;
brew install kubectlbrew cask install virtualboxNow the requirements are installed and configured it was time to install Minikube. To install Minikube, I ran the following;
brew cask install minikube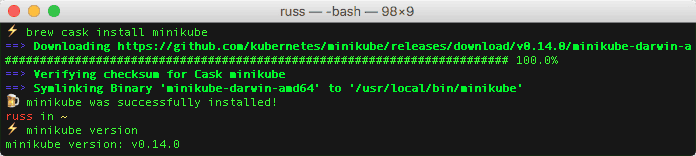
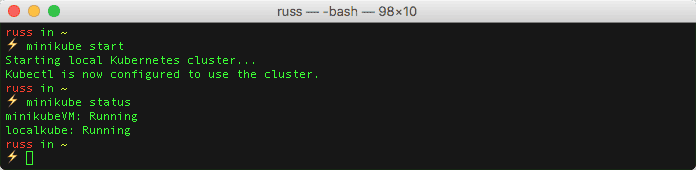
Now that minikube was installed I ran the command below to launch my local Kubernetes cluster;
minikube startAfter a minute or two, it returned a message saying “Kubectl is now configured to use the cluster” and that was it, I had my local Kubernetes cluster up and running.
To test it ran the following commands to launch two NGINX containers, check that everything is running and then bind the service to a port on the local Kubernetes cluster;
kubectl run my-nginx --image=nginx --replicas=2 --port=80kubectl get podskubectl expose deployment my-nginx --type=NodePort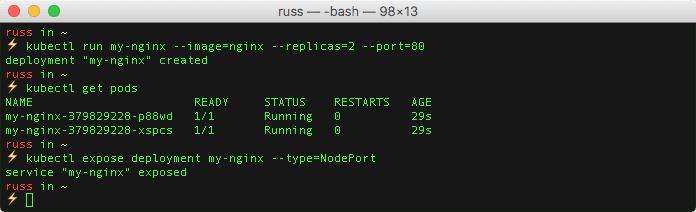
Running the following command opened the exposed service in my browser;
open $(minikube service my-nginx --url)
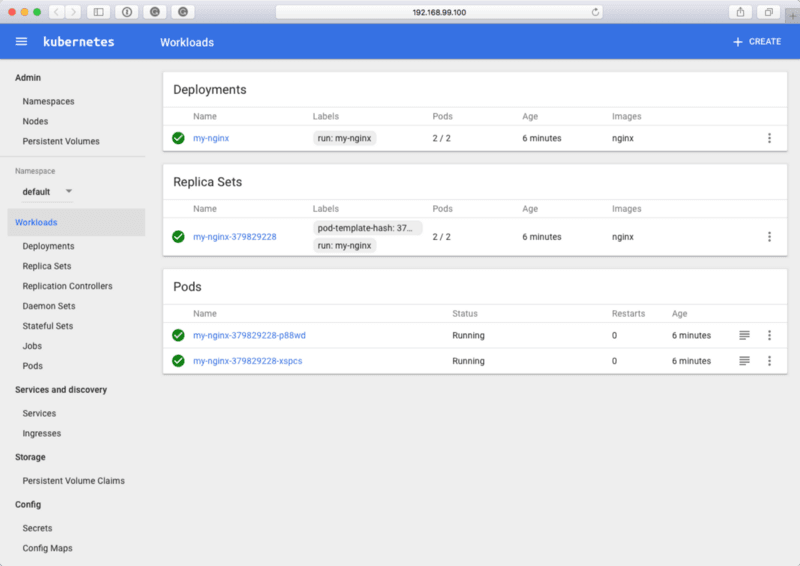
To view the Kubernetes Dashboard I ran;
minikube dashboard
Which opened my browser;
As minikube uses libmachine I can configure my local docker client to connect to the local Kubernetes cluster in the same way you would with a Docker Machine launched Docker host, I did this by running;
eval $(minikube docker-env)docker ps
There are options to enable additional functionality, such as Heapster. To install and enable Heapster I ran the following command;
minikube addons enable heapsterTo check on the status of the service, I ran the following;
kubectl get pods --namespace=kube-systemOnce the Pod had a status of Running I checked the name of the service by running;
minikube service list --namespace=kube-system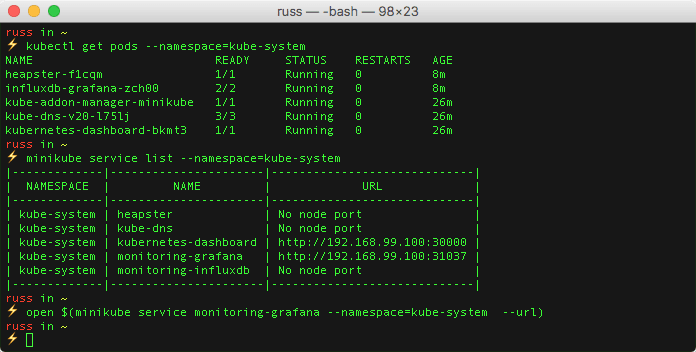
Once I knew the name of the service I ran the command below to open the stats dashboard;
open $(minikube service monitoring-grafana --namespace=kube-system --url)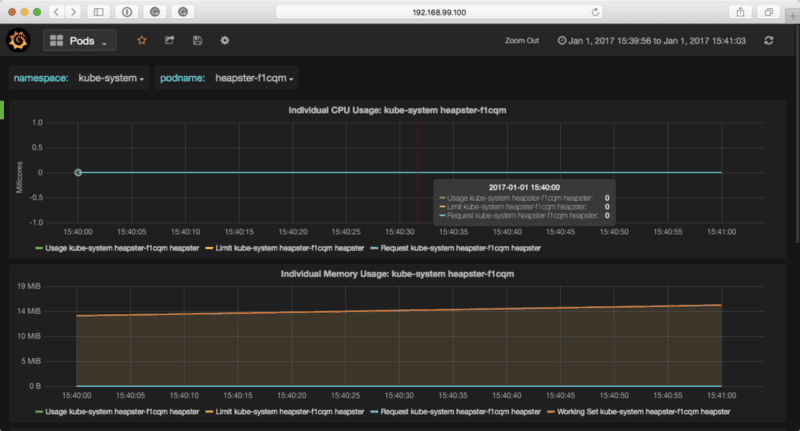
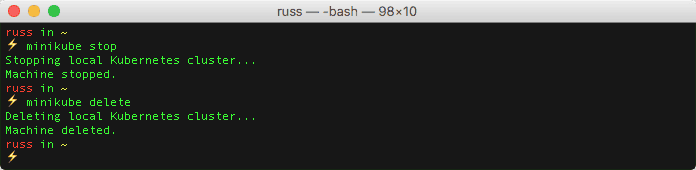
Once I had finished I had the option of either stopping or deleting the local Kubernetes cluster by running on of the following commands;
minikube stopminikube deleteAs you may notice from the following terminal output there is no warning when deleting the cluster so make sure you do want to delete the local Kubernetes cluster !!!
So, what are the drawbacks? Although I have spent the entire post referring to my “local Kubernetes cluster” it is only a single virtual machine, so I won’t be able to demonstrate the scheduler.
Also, as it is running locally, I won’t be able to show off any of the cloud-native load balancing integrations.
Other than that, there is more than enough for me to explain the basic concepts behine Kubernetes.
For more information on Minikube see the following;
- Github project, https://github.com/kubernetes/minikube
- Project Roadmap, https://minikube.sigs.k8s.io/docs/contrib/roadmap/